Image Node
Image Nodes are your dedicated workspace for visual evidence. Use them to store uploaded files, link to hosted images, surface camera and GPS metadata, and keep every critical photo connected to the rest of your investigation graph.What goes in an Image Node?
Image Nodes keep rich context alongside the image itself:- Media Source – Upload files or link remote URLs with automatic validation and secure storage
- Accessibility Details – Title, alt text, and captions for clear documentation and inclusive viewing
- Dynamic Preview – Responsive display with loading feedback, error handling, and adjustable dimensions
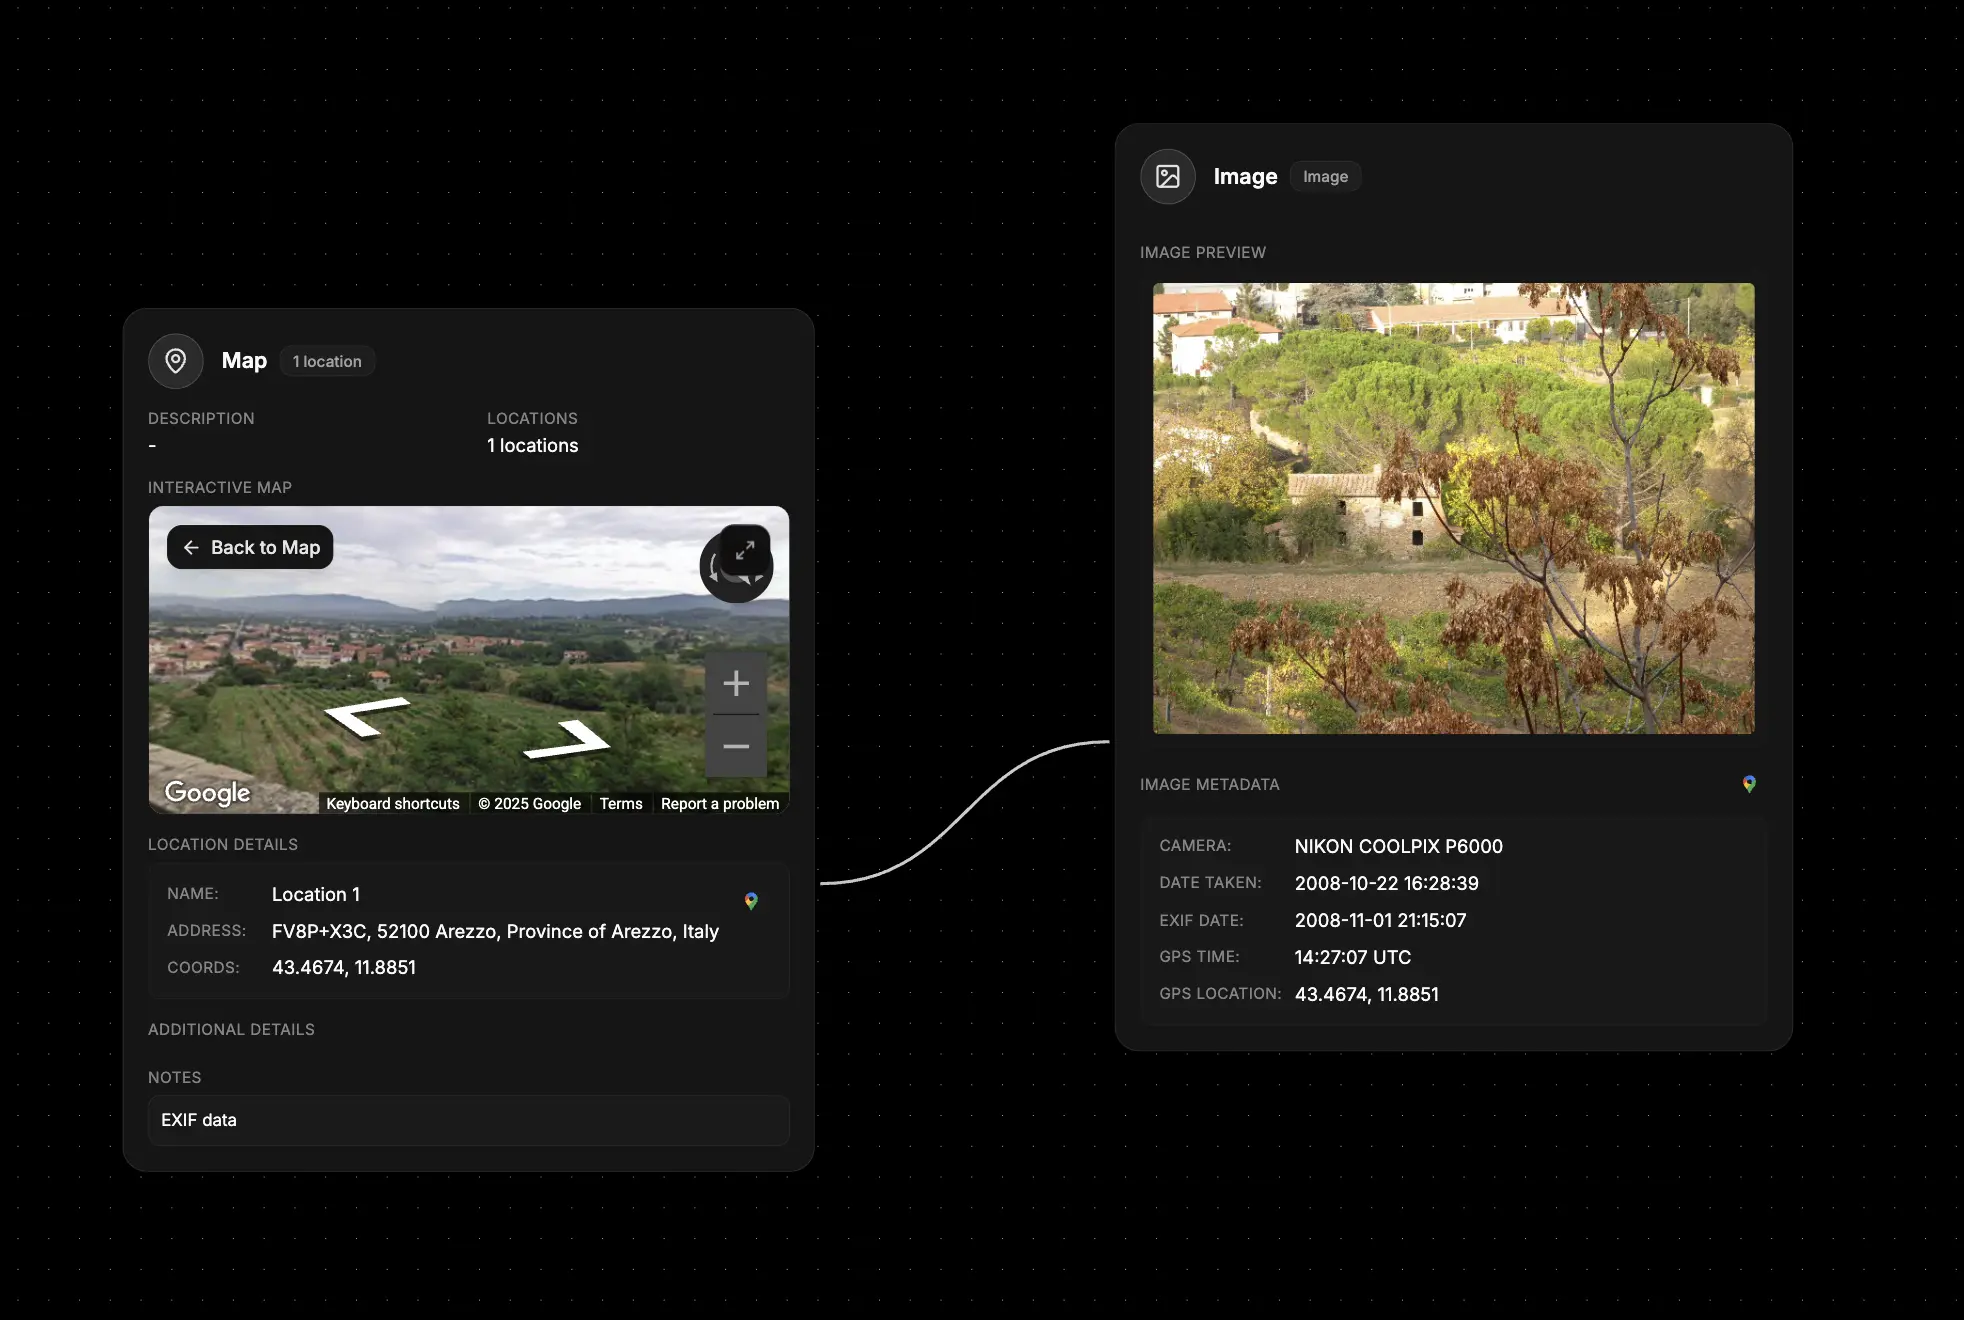
- EXIF Metadata – Camera make/model, capture and modified timestamps, and GPS time markers
- Geolocation Context – Latitude/longitude coordinates, altitude, and quick links to Google Maps
- Investigation Signals – File size, MIME type, source notes, and the “Edited in Image Editor” status flag
When you’ll use these
Evidence preservation
Catalog photographs captured onsite, screenshots, or social media imagery with their original metadata intact.
Geolocation analysis
Leverage GPS coordinates embedded in photos to trace movements, verify alibis, or map digital breadcrumbs.
Platform verification
Confirm the authenticity of leaked or shared media by comparing EXIF data with stated sources.
Reporting packages
Bundle annotated visuals with captions and notes before exporting case summaries or handoffs.
How to document visual evidence
1
Create the image node
Grab the Image tool from the sidebar and place it on your graph to start a dedicated visual evidence card.
2
Add the image source
Choose Upload File for JPG, PNG, or WebP assets (up to 2 MB) or switch to Use URL for hosted media. The node validates the file, uploads securely, and auto-fills technical metadata.
3
Describe the content
Set a descriptive Title, write purposeful Alt Text, and add a Caption so collaborators understand why the image matters.
4
Review metadata automatically
Inspect extracted EXIF details—camera specs, capture timestamps, and GPS signals. If coordinates are present, launch Google Maps directly or copy them for other tools.
5
Adjust presentation
Use the size slider or numeric input to fit the image within the node, toggle Show metadata at node, and, when needed, open the integrated Image Editor for pixel-level adjustments.
Image metadata toolkit
- Camera insights – Surface make and model to validate capture devices or detect stock imagery reuse.
- Temporal markers – Compare capture timestamps against alibis or event logs for timeline alignment.
- GPS overlays – Plot precise coordinates (with six decimal precision) and altitude to ground digital assets in physical space.
- Editing status – Track whether an image was modified internally via the Image Editor for clear audit trails.
Example: Field photo analysis
- Upload the source photo – Add the confiscated device snapshot directly from your workstation.
- Document the scene – Title it “Abandoned Warehouse Exterior” and craft alt text summarizing the visible structure.
- Verify geolocation – Confirm the GPS coordinates align with the suspect’s reported whereabouts.
- Capture investigative notes – Use the caption field for lighting conditions, officer observations, and follow-up tasks.
- Flag edits – If you adjust contrast in the Image Editor, the node logs the edit for transparency.
What else to connect
- Map – Visualize GPS points alongside other geographic evidence
- Event – Anchor images to timeline milestones or incident reports
- File – Link supporting documents, forensic reports, or chain-of-custody forms
- Identifier – Associate subjects appearing in the image with their profiles
- Notes – Capture analyst observations and follow-up questions referencing the visual